Installation:
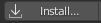
Once the .py file is downloaded, simply install it in blender as any regular add-on: Go to Edit > Preferences > Add-ons and press the following button:
Then navigate to the py file and make sure the box is checked to activate the add-on:

How to use it ?
The add-on can be reached on the image edit (Shift-F10), in the “Misc” tab of the toolbar (shortcut N):
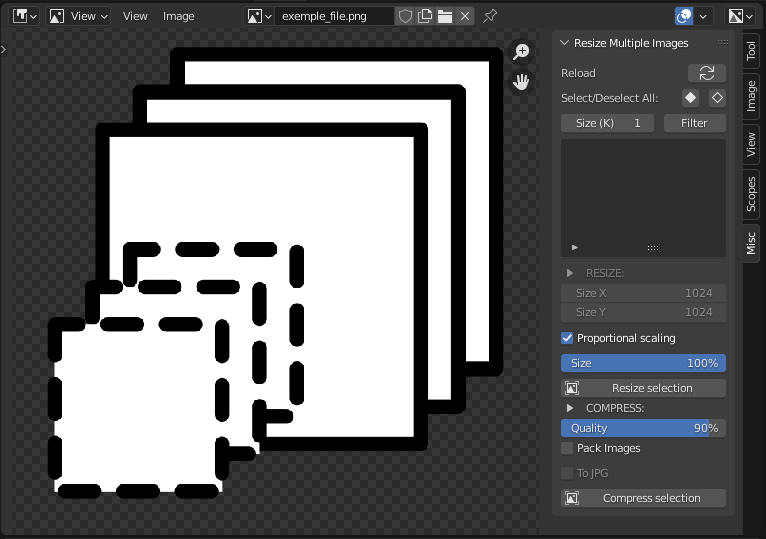
Note: the Lite version only gives the user access to the Resize operation. The Advanced version offers further features: proportional scaling, and Compression.
If the list panel is empty, press the reload button and you shall see them:

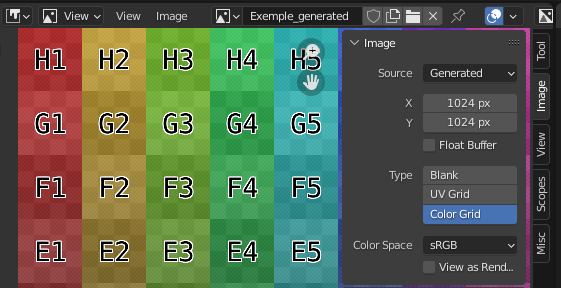
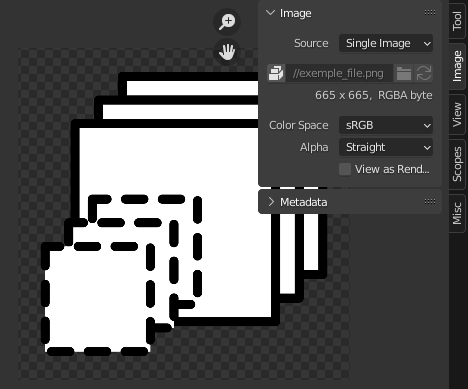
Some terminology: Generated vs Imported images
In this user guide, “blender generated” (or “generated”) images (or textures) as well as “imported” images (or textures) will be mentioned several time.
A blender generated texture refers to a texture the user creates in the image editor (Image > New):
An imported texture refers to an image file the user opened in blender (whether its packed or not):
Selecting images
Simply check the boxes of the images you are willing to resize:
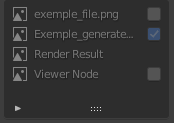
There is the possibility to select and deselect all the images at once, that can be convenient if the scene contains many pictures:

In case you are willing to only resize high resolution textures, for example 4K textures only, you can isolate them using the filter:

Just set the resolution (in kpixels) and press filter.
Resize!
The Resize tool is a very basic yet powerful function that will modify the size of the selected images to the Width and Height you desire:
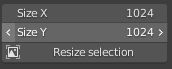
In the example above, the 4k textures you isolated and selected are now 1024*1024, i.e 1k textures.
Important! The packed images and the generated textures are not automatically overwritten. In order to recover them, you can use the Reload action (shortcut Alt+R).
Regarding imported images, they are not overwritten either by default. Blender will ask when you close the app whether the imported textures shall be overwritten or not
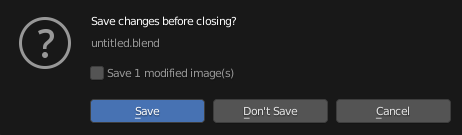
If you do not check the box the modification will not be applied and the change in size will be lost for those imported images.
Proportional scaling.
This feature is only available on the for the Advanced version of the add-on. The checkbox will allow you to scale down all the selected images using a percentage rather than forcing them to a specific dimension (it will ignore the width and height above).
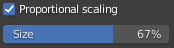
Let’s say for example that you have a bunch of 4k and 2k textures selected, by ticking the Keep aspect ratio box and hitting the Resize button they will be now 67% smaller, which means ca. 2640*2640 and 1320*1320.
Compress.
Also an Advanced version feature, for the users who want even more control.
Important: this feature will save the blender generated textures into png files (and pack them if requested), and overwrite the imported images.
Compression is the process of reducing an image size without degrading its quality. So as before, select the images you wish to compress, set either the Width and Height or the proportion factor, and then pick the quality you wish to have for your new compressed textures. For quality below 50% you have to manually input the number (safety net).
Once all the parameters are set, hit the Compress selection button this time.

This may take a bit longer as it uses different functions.
What does it do?
> Generated textures: they will be save as their_name.png in the same working directory as your blender file.
> Imported textures: they will be overwritten, this to avoid generating too many files.
> You can choose to pack all the select images instead of generating new pngs as well: